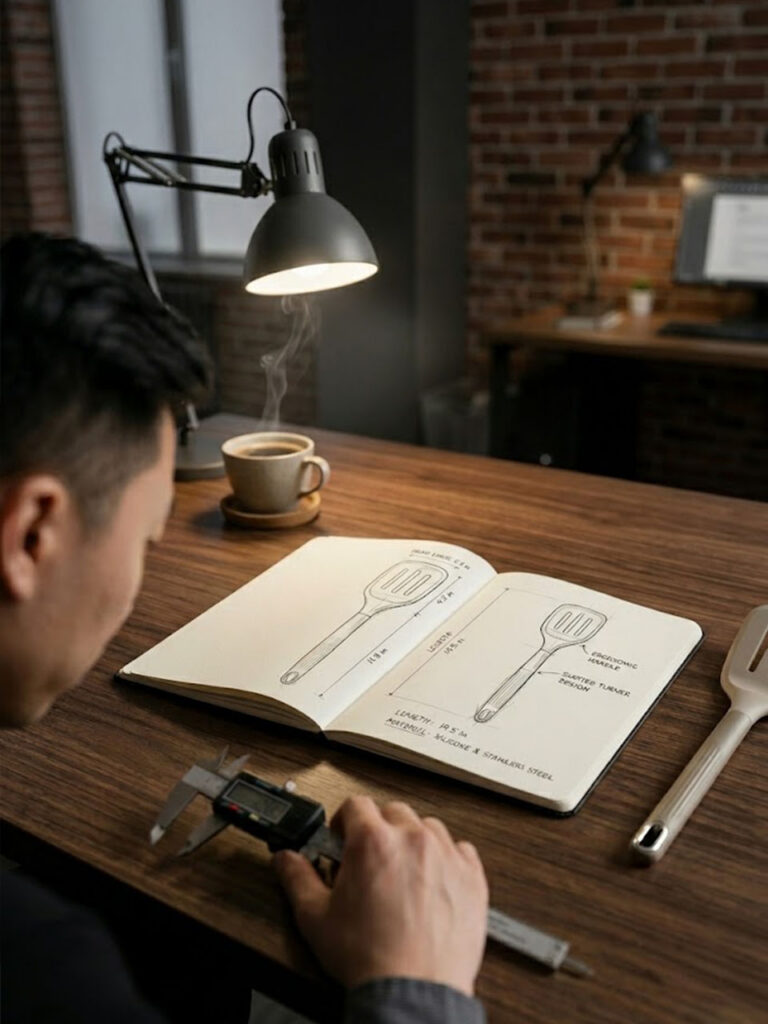
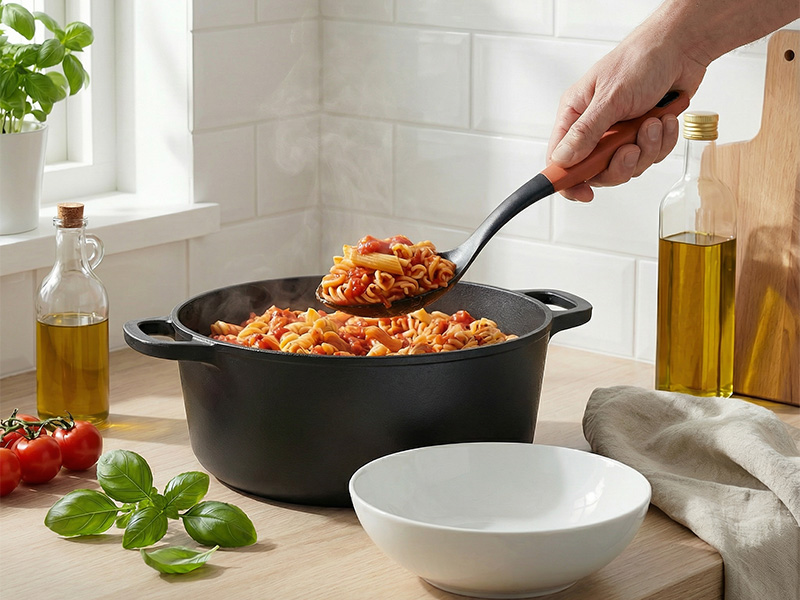
Improving a kitchen utensil does not always require a completely new concept; in many cases, small design changes can resolve problems that only become visible during repeated use.
For brands and sourcing teams, a change becomes meaningful when it removes an observable difficulty during the intended task, rather than simply making the sample look different.
Handle shape, surface finish, edge thickness, and working angles can all influence kitchen utensil usability, yet these details are often approved according to appearance and first-touch comfort.
Real use provides a different type of evidence by showing when a user tightens their grip, changes wrist position, slows down, or adjusts the tool because the product is not controlling the load naturally.
These compensation behaviors help product teams separate meaningful improvements from subjective preferences, so the goal of a small design change should be to make the intended action more stable without creating unnecessary complexity elsewhere.
Small Changes Should Solve Observable Behavior
A kitchen tool should be evaluated together with its task. The NIOSH guidance on non-powered hand tools emphasizes that a tool should fit both the user and the work while providing a secure, non-slip grip without unnecessary effort.
We applied the same principle while evaluating a stainless steel ladle. Its mirror-polished, round handle looked refined, and the sample had acceptable weight distribution and overall balance.
The limitation emerged during repeated serving actions. As the filled ladle moved toward the bowl, the handle began to rotate slightly between the thumb and index finger, causing the liquid to become less stable near the end of the movement.
Testers with different hand sizes showed a similar response. They tightened their grip before completing the pour, indicating a compensatory action rather than an isolated preference.
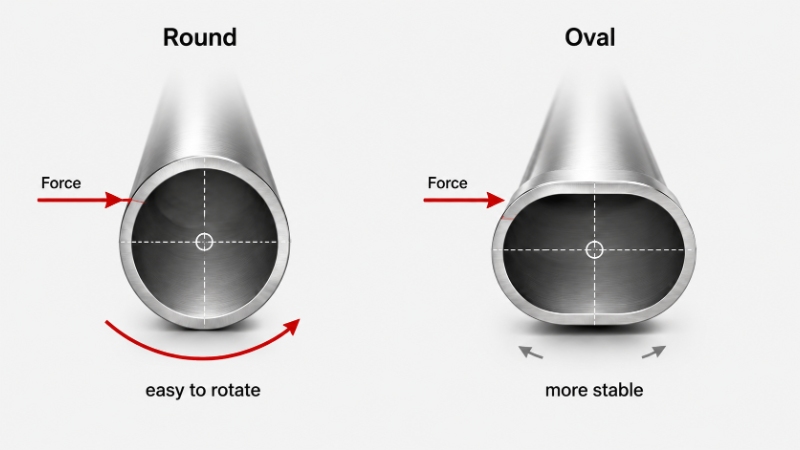
The cause was the interaction between two details: the perfectly round cross-section offered little resistance to rotation, while the polished surface reduced friction. Under an off-center load, gripping harder did not necessarily create better control.
The adjustment was deliberately limited. The handle cross-section was changed from round to subtly oval, and the mirror finish was replaced with a fine directional brushed texture.
The revised handle maintained the original weight, balance, and general appearance. Its geometry provided a clearer orientation in the hand, while its surface added more resistance to unintended rotation.
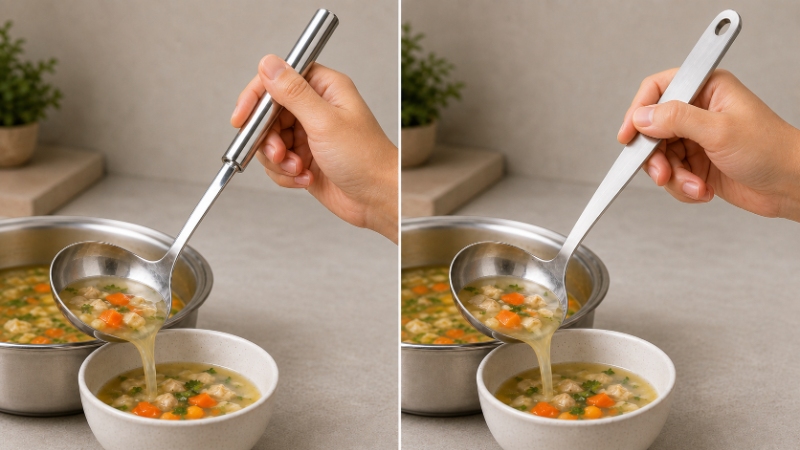
During a follow-up comparison, the compensatory tightening behavior was no longer observed. When the original and revised samples were presented without explaining the difference, testers consistently described the oval version as feeling more stable.
This experience changed our evaluation method. Instead of asking only whether a handle feels comfortable, we now observe whether users adjust their grip under load, because compensation can reveal a design problem before the user can describe it.
When reviewing a kitchen utensil collection, buyers should evaluate handle geometry together with the utensil’s weight and intended movement. Our analysis of long-term kitchen tool usability provides further examples of why first-touch comfort cannot represent the complete use experience.
Functional Surface Details Are Manufacturing Decisions
Surface texture is sometimes treated as a styling choice, similar to color or gloss. However, when a textured area helps the user grip, press, or control a tool, it becomes a functional part of the product.
This distinction matters during production. A texture that looks clear on an approved sample may become inconsistent when mold temperature, pressure, material flow, or part geometry varies within normal manufacturing conditions.
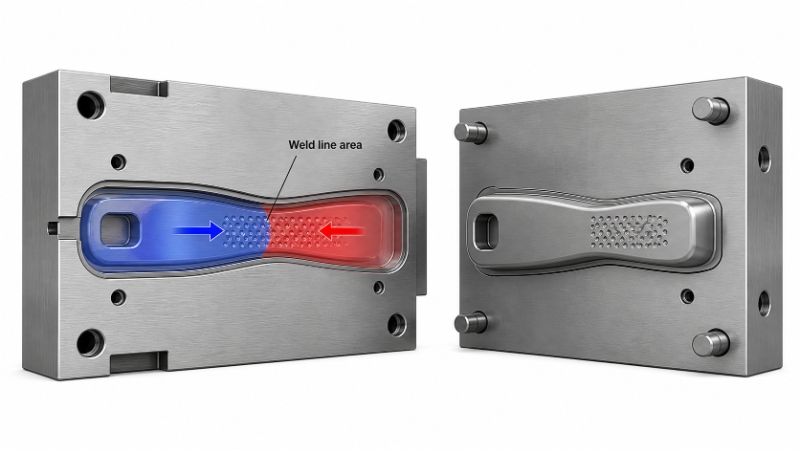
Protolabs explains that an injection-molding knit line or weld line forms where separate flows of molten plastic meet. Its appearance and properties can vary with the resin, processing conditions, and part geometry, making its location relevant to both cosmetic and functional performance.
When Grip Texture Meets Process Variation
We encountered this issue while reviewing a pair of kitchen tongs with a recessed thumb area inside the handle. The approved sample had a defined texture that improved control during pressing and gripping.
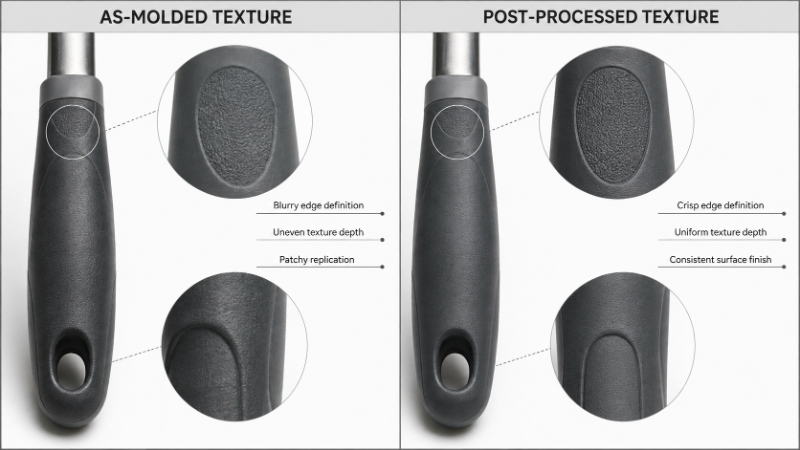
During trial production, the same area did not reproduce consistently. Some parts showed a less distinct pattern, while others developed visible surface variation around the edge of the textured zone.
The drawing specified the same texture for every part, so the original assumption was that mold engraving would reproduce it reliably. Further review showed that the functional grip area was close to where separate material flows met.
Small changes in processing conditions affected how clearly the resin copied the mold texture in that location. A single carefully adjusted sample could look acceptable, while production introduced variation that the approved sample did not reveal.
This was not only an appearance issue. The user’s thumb contacted that exact area, so an indistinct pattern could reduce grip consistency, while visible variation could make otherwise identical products appear poorly controlled.
Instead of changing the complete handle or rebuilding the mold, the team separated the functional texture from the molding process. The grip pattern was applied after molding through a controlled secondary surface process.
This adjustment reduced the texture’s dependence on local material flow. It also allowed the depth and clarity of the functional area to be managed as a separate production characteristic.
The experience led to a new review point: whenever an injection-molded texture performs a functional role, the team checks whether it overlaps with a weld line, difficult filling area, or process-sensitive surface.
If the locations cannot be separated, buyers should discuss whether the function can be protected through gate adjustment, geometry changes, or secondary processing. The best option depends on tooling feasibility, cost, appearance, and required consistency.
These details are worth reviewing during kitchenware sampling, when grip, movement, finish, and alignment can still be compared before final approval. A sample should show the intended result, while trial production should show whether that result is repeatable.
Our discussion of small manufacturing details examines similar problems involving edges, joints, finishes, and alignment. A detail may occupy only a small area, but when it affects control or user contact, it should be specified and inspected as part of product performance.
How to Validate a Small Design Change
A useful product adjustment should solve a clearly defined problem. “Improve the handle” is too broad, while “reduce unintended rotation during serving” gives the team a behavior that can be observed and compared.
Product, user, task, and environment should be considered together. ISO 6385 describes an integrated approach to ergonomics and notes that its principles can also apply to domestic products, supporting task-based evaluation rather than isolated feature review.
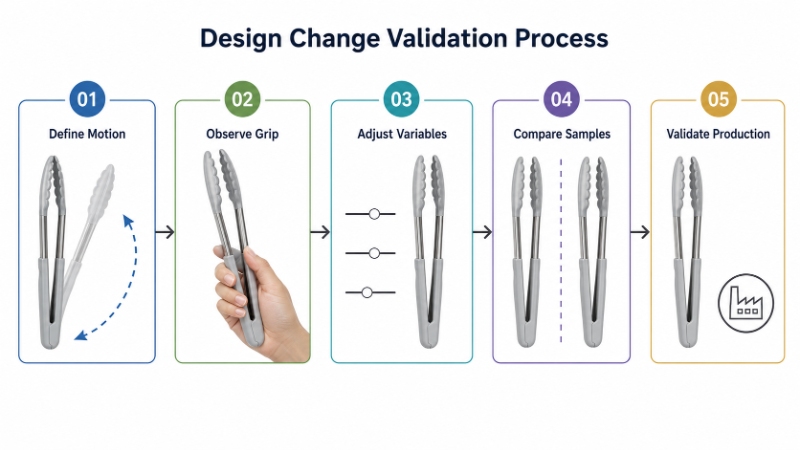
A practical validation process can be organized into five steps:
- Define the intended action. Specify whether the utensil must lift, turn, scrape, grip, pour, or resist rotation under load.
- Observe the difficulty. Look for slipping, extra force, wrist adjustment, repeated repositioning, hesitation, or another compensatory action.
- Change one meaningful variable. Adjust the relevant geometry, surface, material, or process without changing several unrelated features at once.
- Compare the samples without prompting. Avoid explaining the modification before testing, as this can influence how users describe the difference.
- Confirm production repeatability. Check whether the revised detail remains consistent beyond the carefully prepared development sample.
When a Small Adjustment Is Not Enough
Not every usability problem can be solved by changing a single dimension or surface finish. If one component must perform two conflicting functions, the design may need separate functional zones rather than one compromise material property.
For example, a working edge may need flexibility to follow a curved surface, while the central area needs stiffness to transfer force. Making the entire part softer or harder could improve one action while weakening another part of the intended function.
In this situation, the visible change may still appear small, but the internal solution may involve a reinforcing structure, material transition, or revised connection. Product teams should judge the adjustment by the problem it resolves, not by how little the drawing changes.
A proposed refinement should also be reviewed for new risks. Better grip should not make cleaning more difficult, a stronger structure should not create an uncomfortable weight distribution, and a clearer texture should not introduce an unstable manufacturing step.
From Observation to Production Control
Once a small change is validated, it should become part of the product specification. Relevant details may include cross-sectional shape, surface direction, texture location, inspection method, or the user behavior the design is intended to prevent.
The approved sample should show the target result, while trial production confirms whether the process can repeat it. This connection between usability and manufacturing is what turns a promising adjustment into a controlled product requirement.
Buyers evaluating customized projects can use a supplier’s kitchenware manufacturing capabilities to understand how design review, prototyping, material selection, trial production, and inspection connect. Small changes are most useful when design and production teams evaluate them together.
Conclusion
Small kitchen utensil improvements create value when they remove a specific and observable difficulty. Handle geometry, surface texture, working-end structure, and manufacturing location can all affect how reliably a product performs in real use.
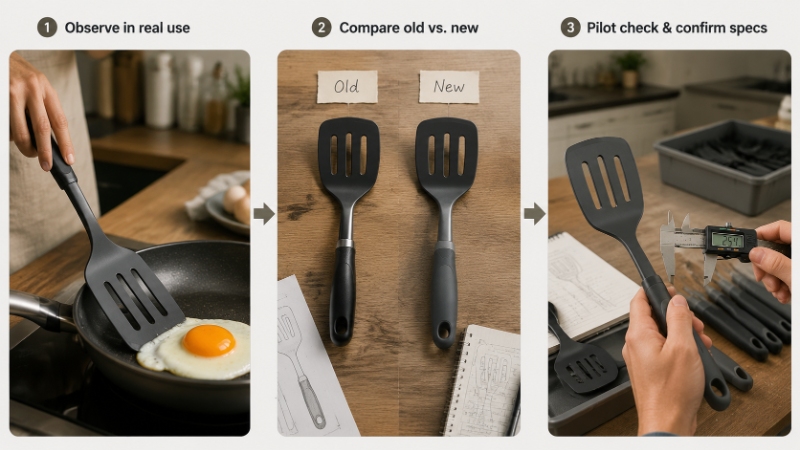
The most dependable process is to define the task, observe compensation, modify one relevant variable, compare samples, and confirm repeatability. This approach helps buyers distinguish a meaningful functional refinement from a cosmetic change.
Ready to Review a Kitchen Utensil Detail?
L-Tools supports brands and retailers with kitchenware design, sampling, testing, process development, and scalable manufacturing. If an existing product is close to working well but a handle, texture, working angle, or production detail still needs refinement, contact our product development team to share the product requirements and discuss a practical next step.